
There's a special kind of pain that comes with paying for software you barely use. Google Workspace for one email address? That's $84/year to feel professional. I found a way to get the same result for $0, and honestly, it felt like finding money in an old jacket. Here's how to do it.
This setup is ideal for founders, consultants, and solo operators who want a professional email without paying for Google Workspace.
What this gives you
- you@yourdomain.com — Professional email address
- Emails arrive in your existing Gmail inbox
- You can send email from your domain
- $0 cost — Completely free
Tech stack: ImprovMX (email forwarding) + Gmail (send-as)
What you need
- A domain you own
- Access to your domain's DNS settings
- A Gmail account
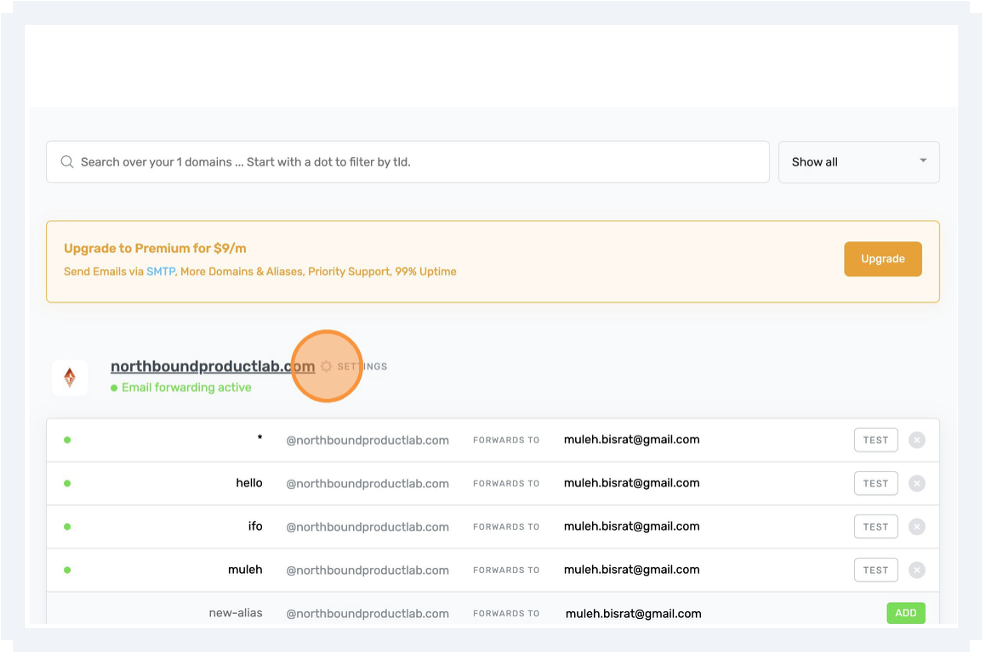
1Set up free email forwarding (ImprovMX)
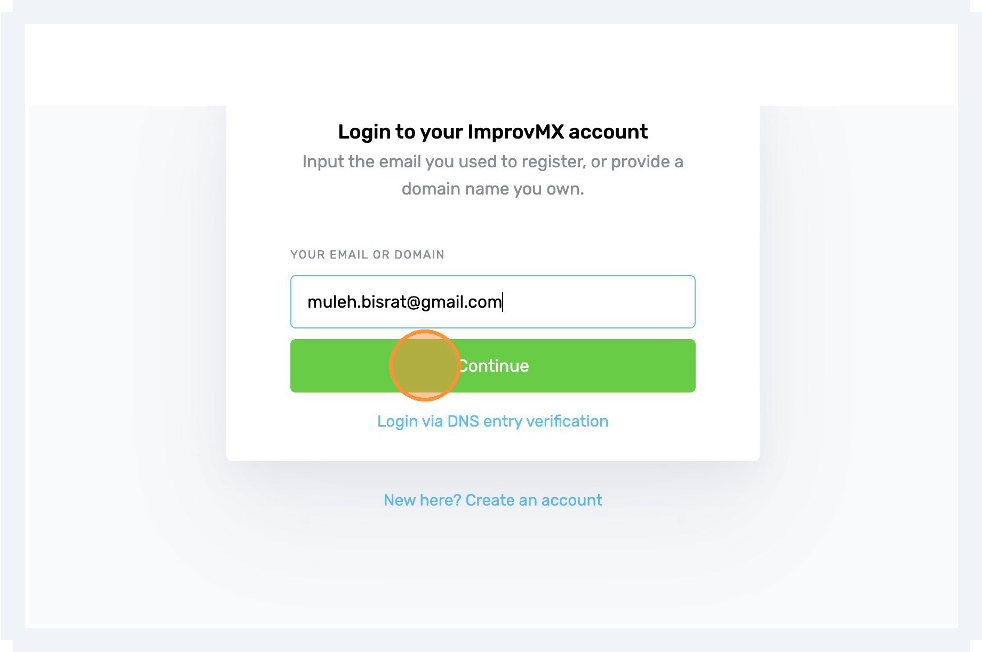
- Go to improvmx.com
ImprovMX is a free email forwarding service. It doesn't host your inbox or replace Gmail — it simply acts as a bridge that receives emails sent to your domain and forwards them to your existing email address. This is what makes it possible to use a professional domain email without paying for Google Workspace or managing a separate inbox.
- Click Add domain
- Enter your domain (example: yourdomain.com)
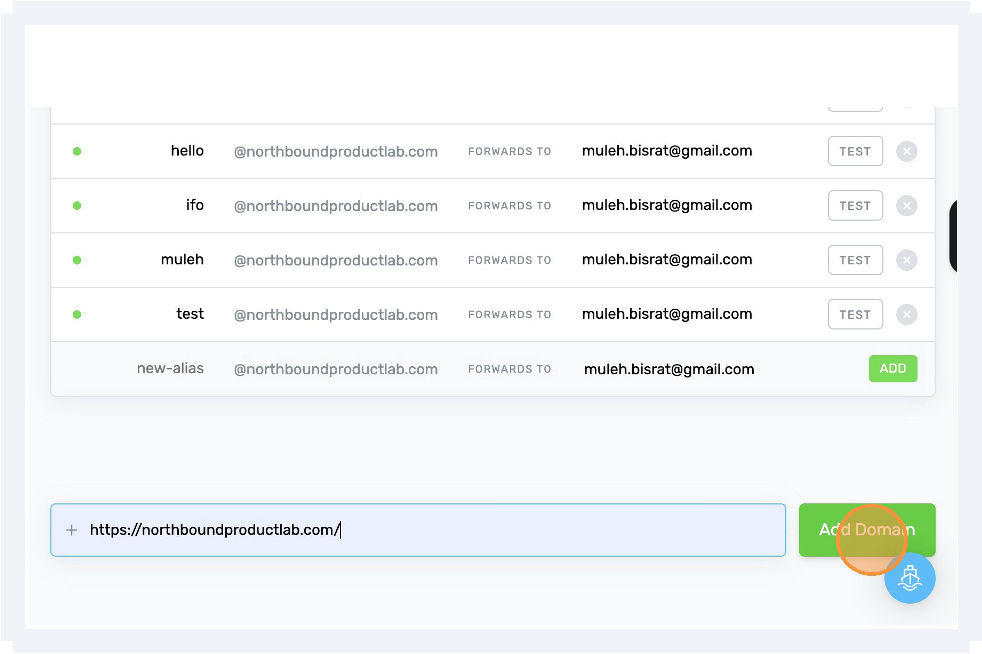
- Create a forwarding rule:
Alias: hello (or your name)
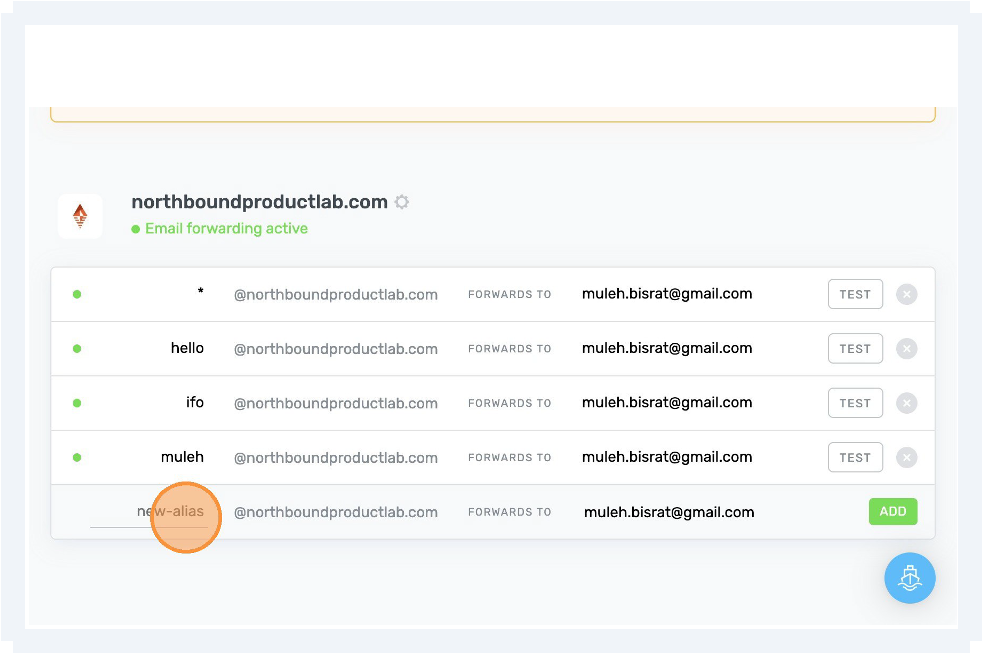
Destination: yourgmail@gmail.com
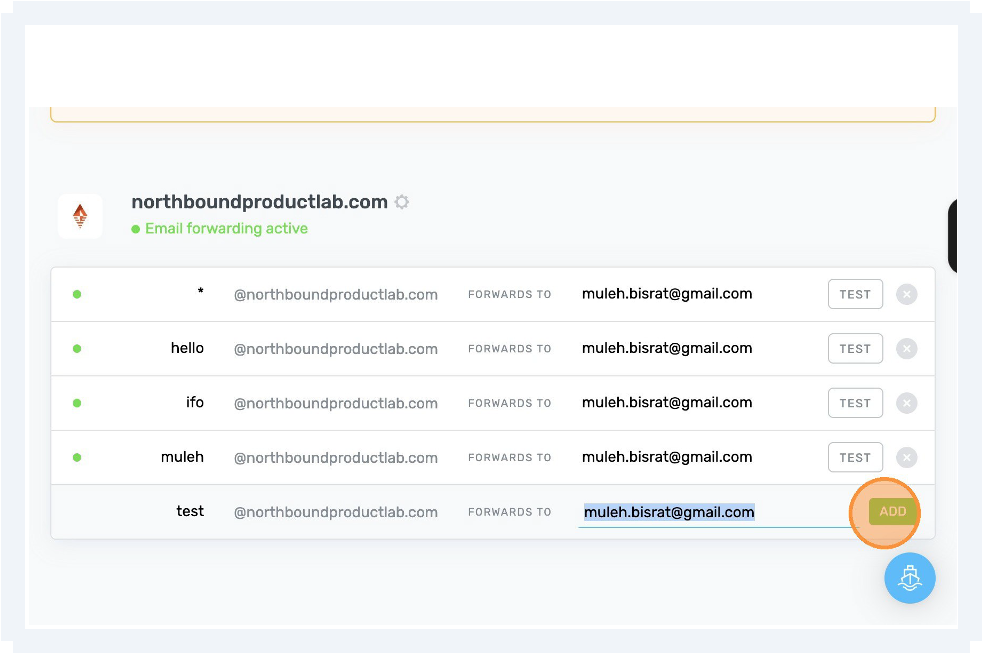
Result: hello@yourdomain.com → yourgmail@gmail.com
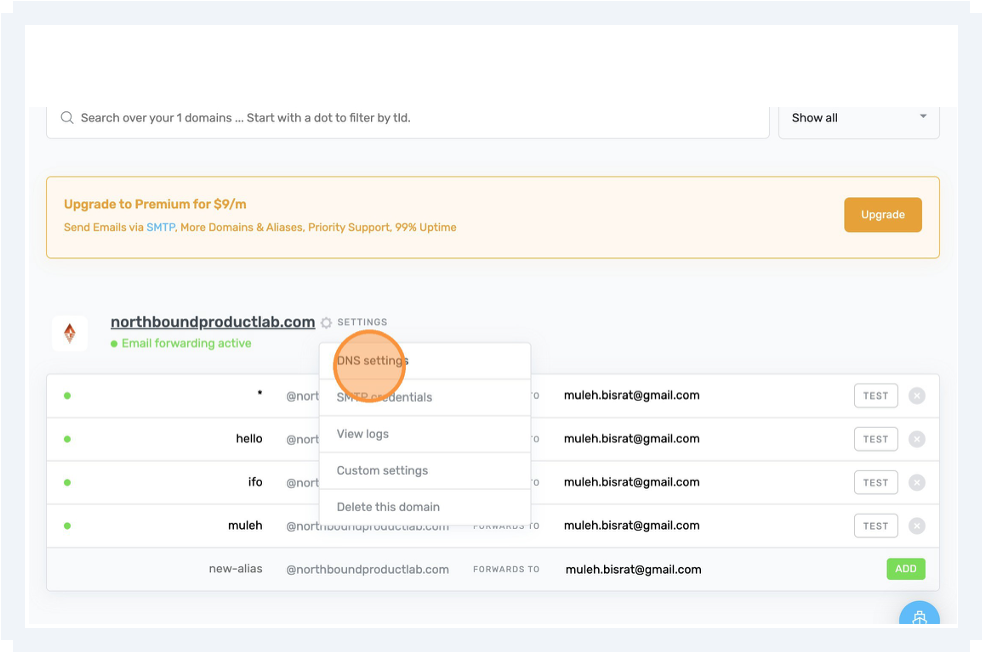
2Add MX records to your domain (critical)
MX records (Mail Exchange records) tell the internet where emails for your domain should be delivered. When someone emails you@yourdomain.com, MX records act like routing instructions, pointing that message to the service responsible for receiving it. In this setup, they tell the world to send your email to ImprovMX, which then forwards it to Gmail.
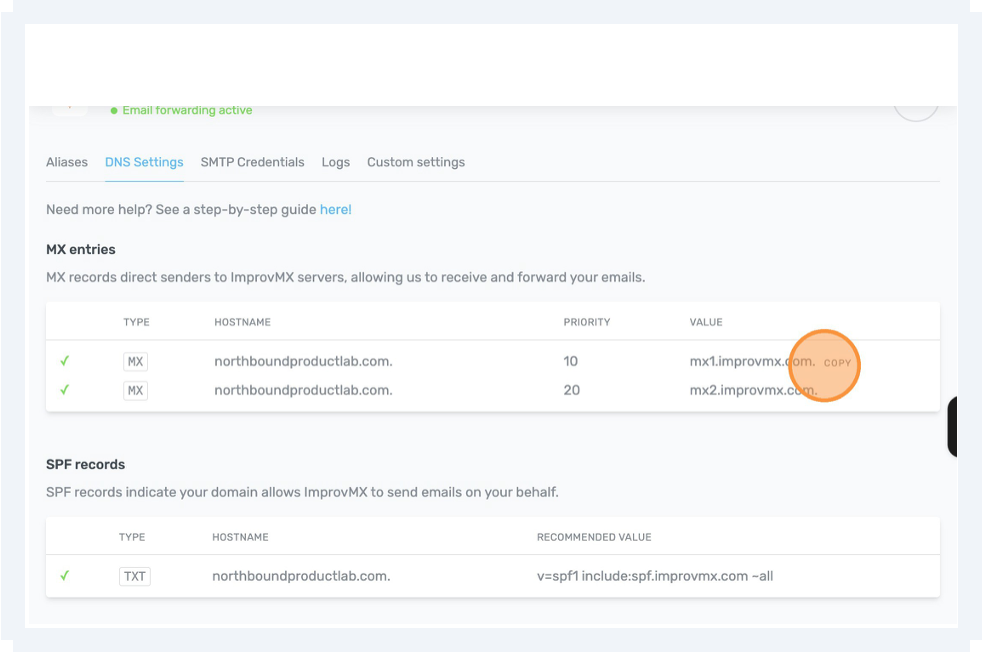
Go to your domain's DNS manager and add both MX records below.
| Type | Host | Value | Priority |
|---|---|---|---|
| MX | @ | mx1.improvmx.com | 10 |
| MX | @ | mx2.improvmx.com | 20 |
Save changes.
Note: DNS propagation usually takes 5–60 minutes (sometimes longer).
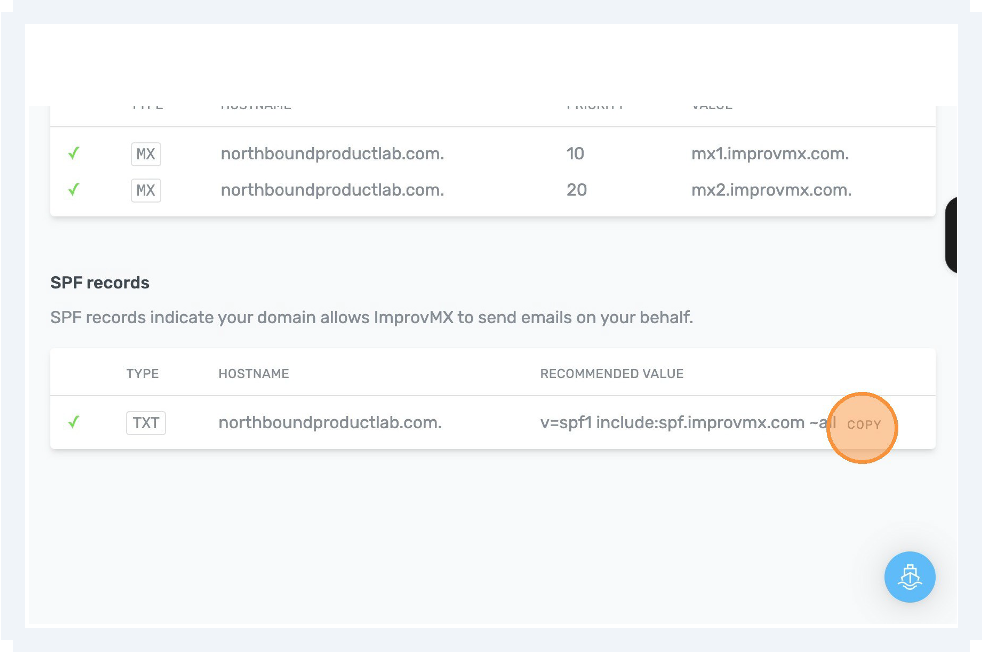
3Add SPF record (avoid spam)
An SPF record (Sender Policy Framework) tells email providers which services are allowed to send email on behalf of your domain. It helps prevent spoofing and keeps your emails from landing in spam by proving that messages sent from your domain are legitimate.
Still in DNS, add this TXT record:
| Type | Host | Value |
|---|---|---|
| TXT | @ | v=spf1 include:improvmx.com ~all |
Warning: If an SPF record already exists, edit it and add include:improvmx.com — do not create a second SPF record.
4Test receiving email
Send a test email from another account to:
If it arrives in Gmail, forwarding is working! ✅
5Configure Gmail to send FROM your domain
- Open Gmail
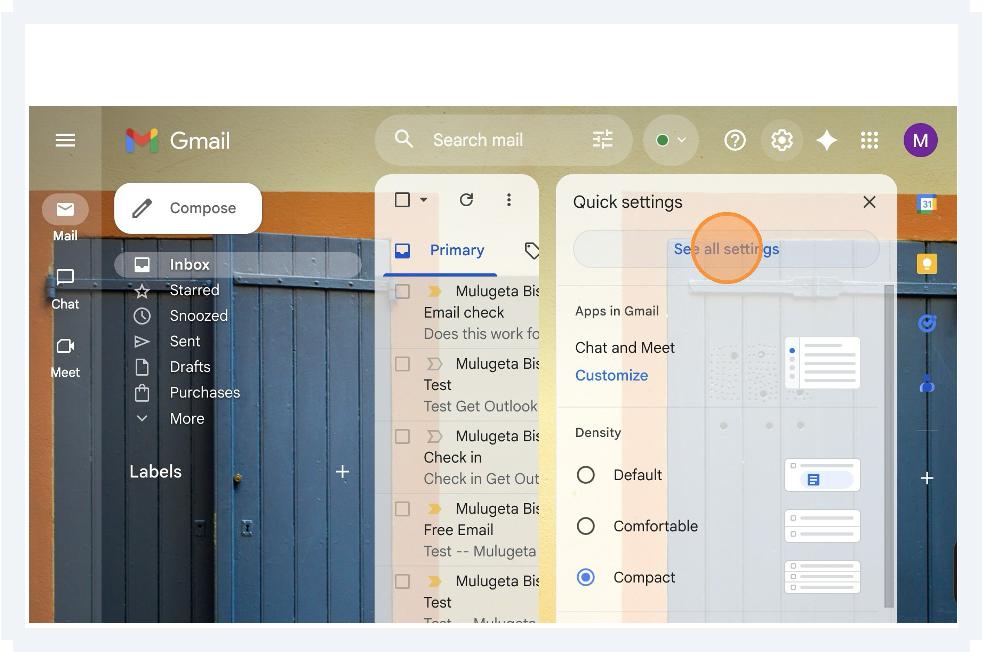
- Go to Settings → See all settings
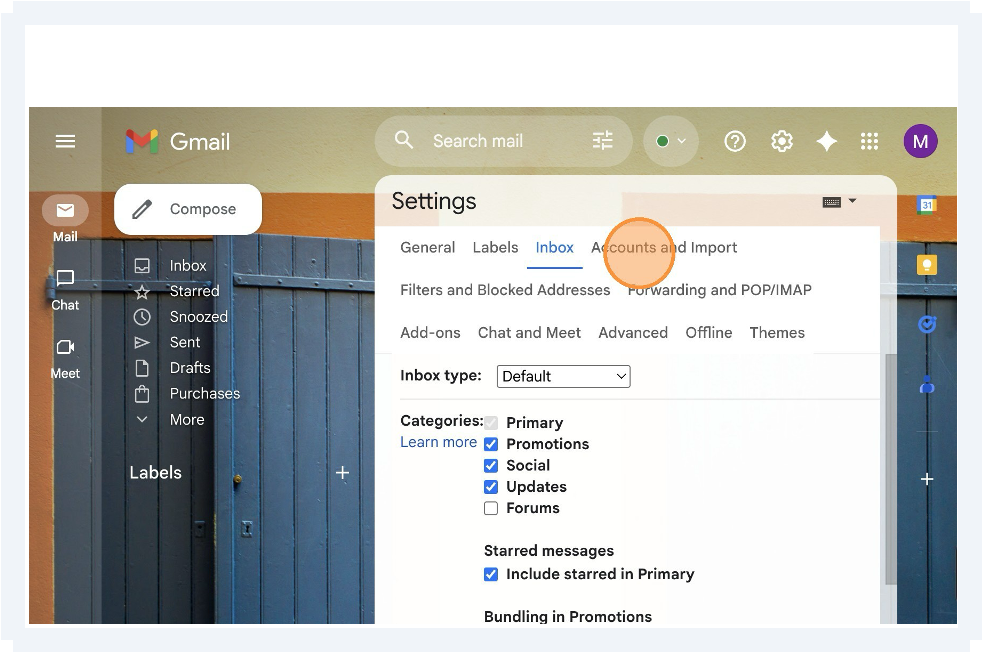
- Open Accounts and Import
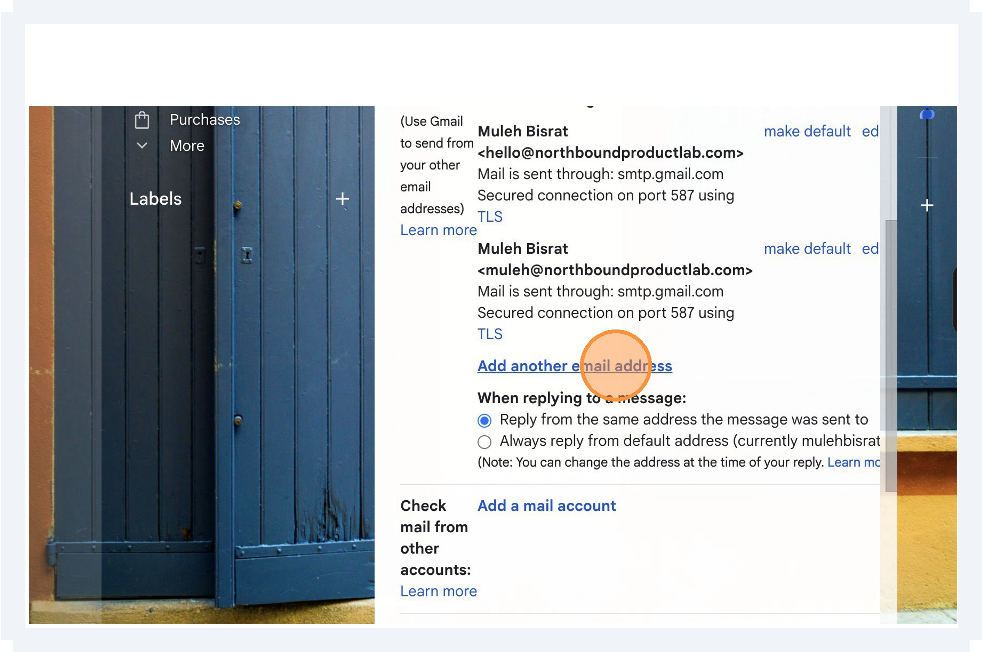
- Under Send mail as, click Add another email address
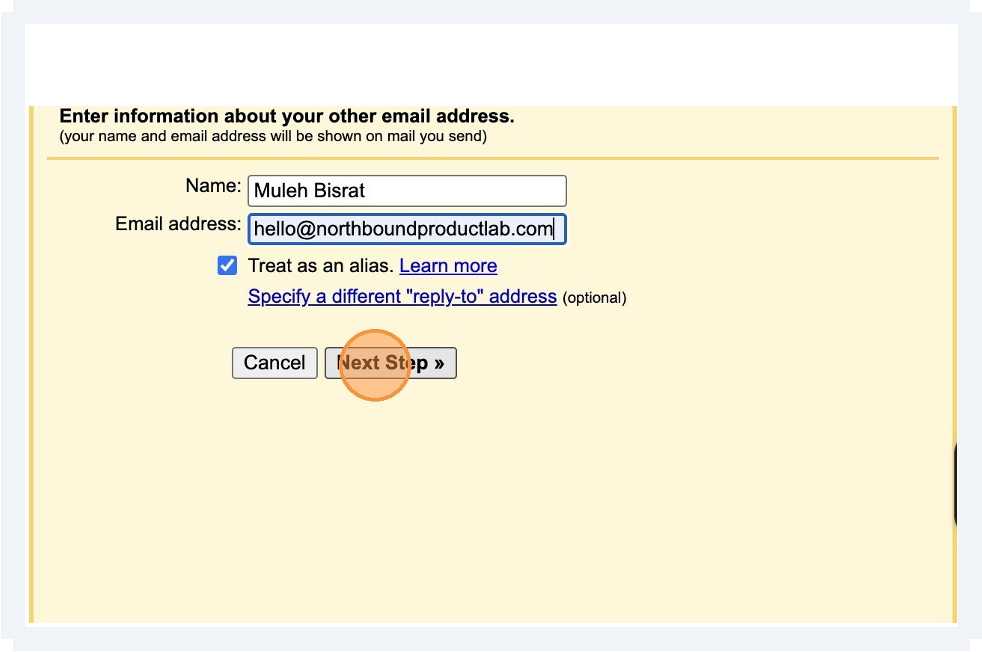
- Enter:
- Name: Your name
- Email: hello@yourdomain.com
- Check Treat as an alias
SMTP settings
SMTP server: smtp.gmail.com
Username: yourgmail@gmail.com
Password: Gmail App Password (next step)
Port: 587
TLS: ON
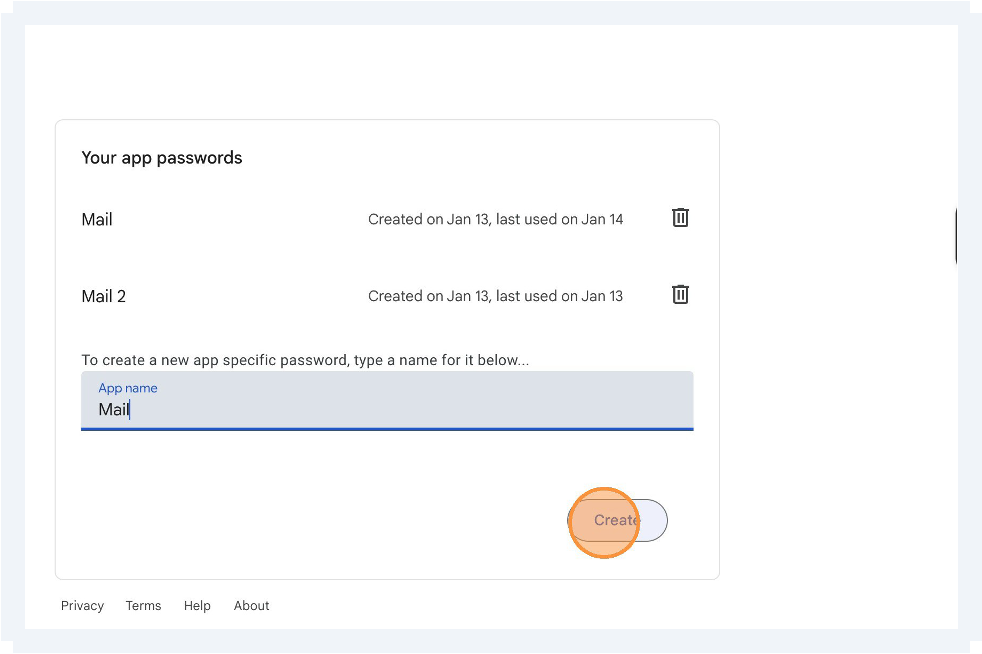
6Create a Gmail App Password (required)
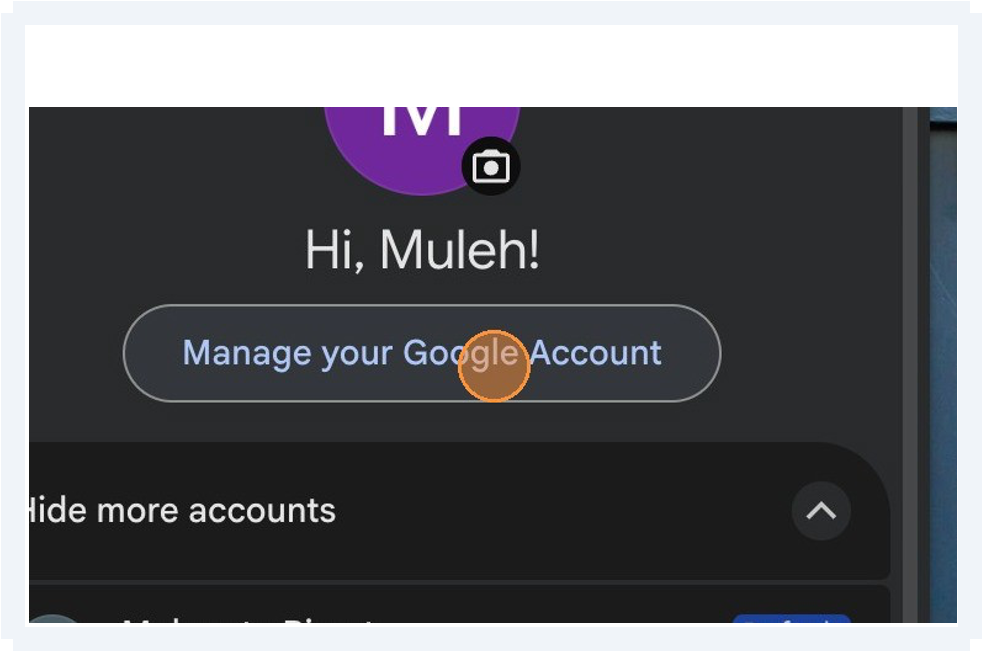
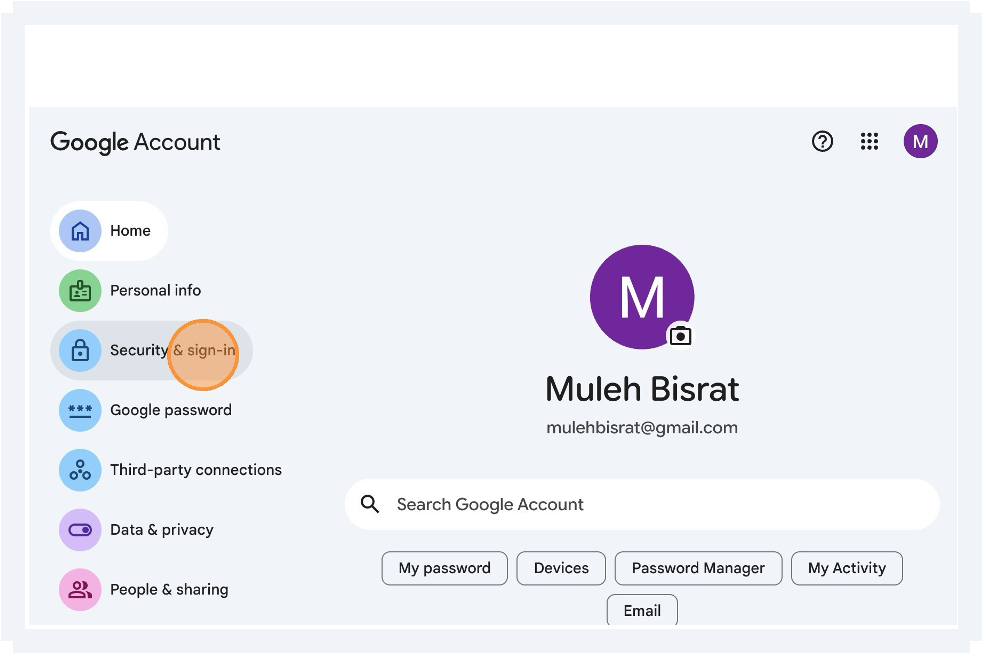
- Enable 2-Step Verification
- Open App Passwords
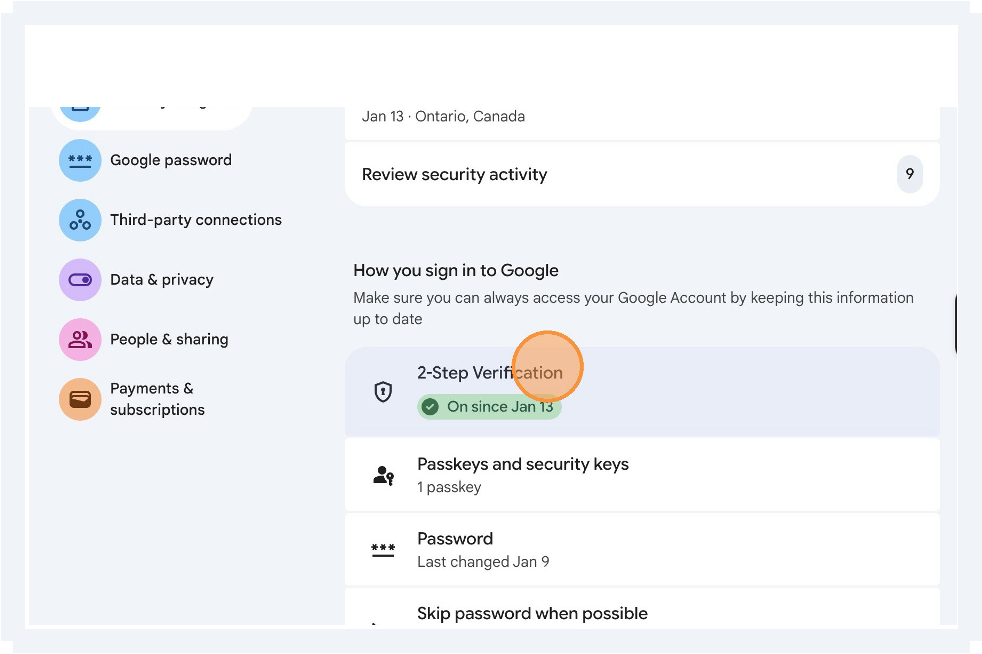
- Create a password for Mail
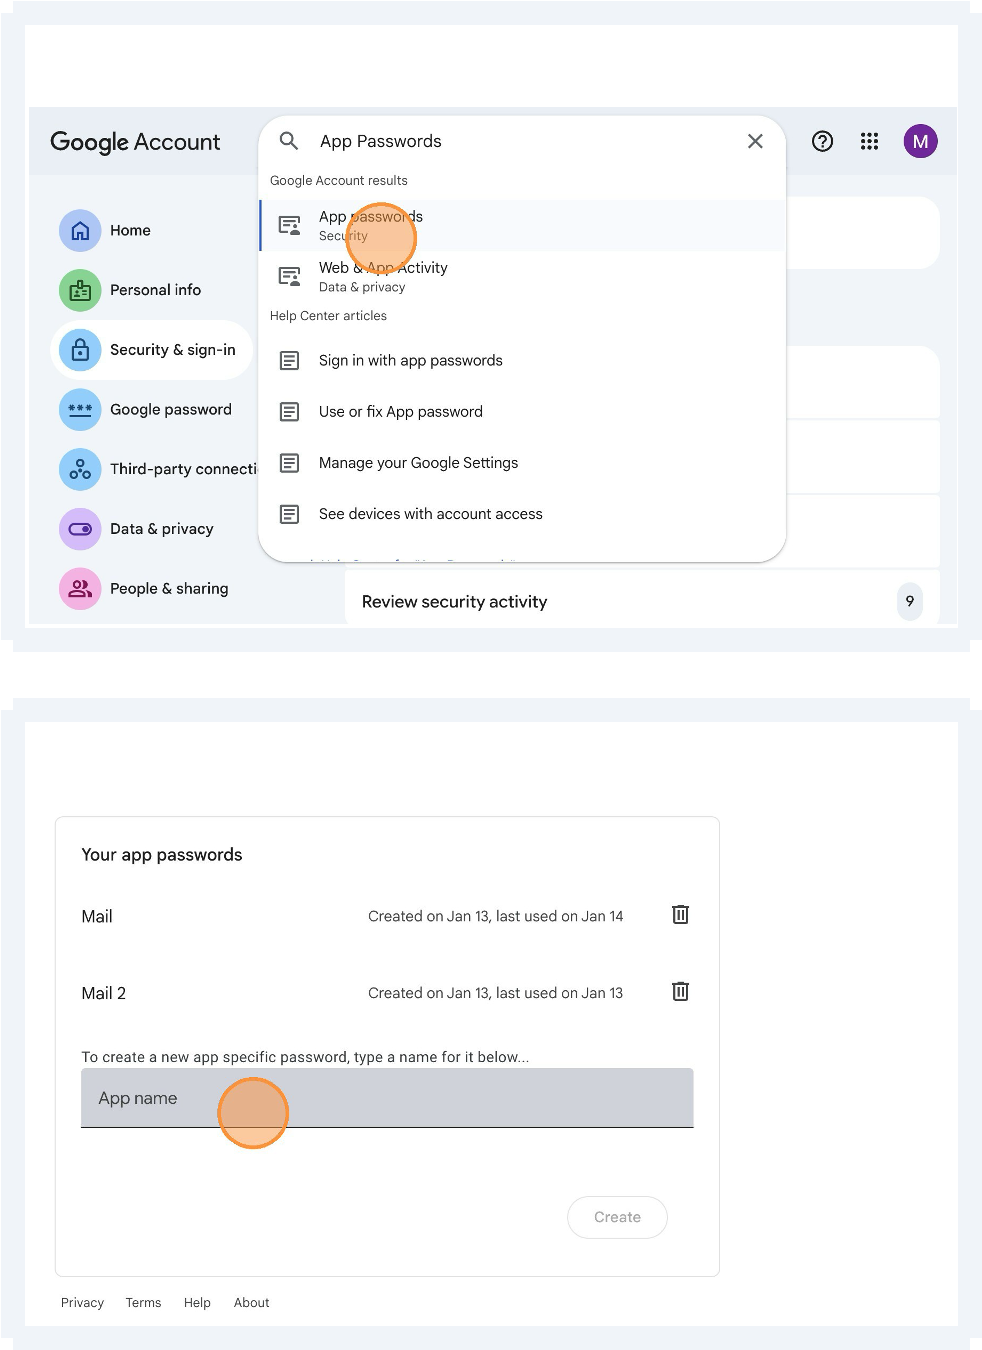
- Use this password in Step 5
7Set your default From address
In Gmail:
- Go to Accounts and Import
- Under Send mail as
- Set hello@yourdomain.com as default
Final result
Every email you send:
- Comes from your domain
- Uses Gmail's interface
- Costs nothing
Troubleshooting quick checks
- Only two MX records should exist (ImprovMX)
- Only one SPF record should exist
- DNS changes may take up to 4 hours on some hosts
Comments
Be the first to leave a comment!